
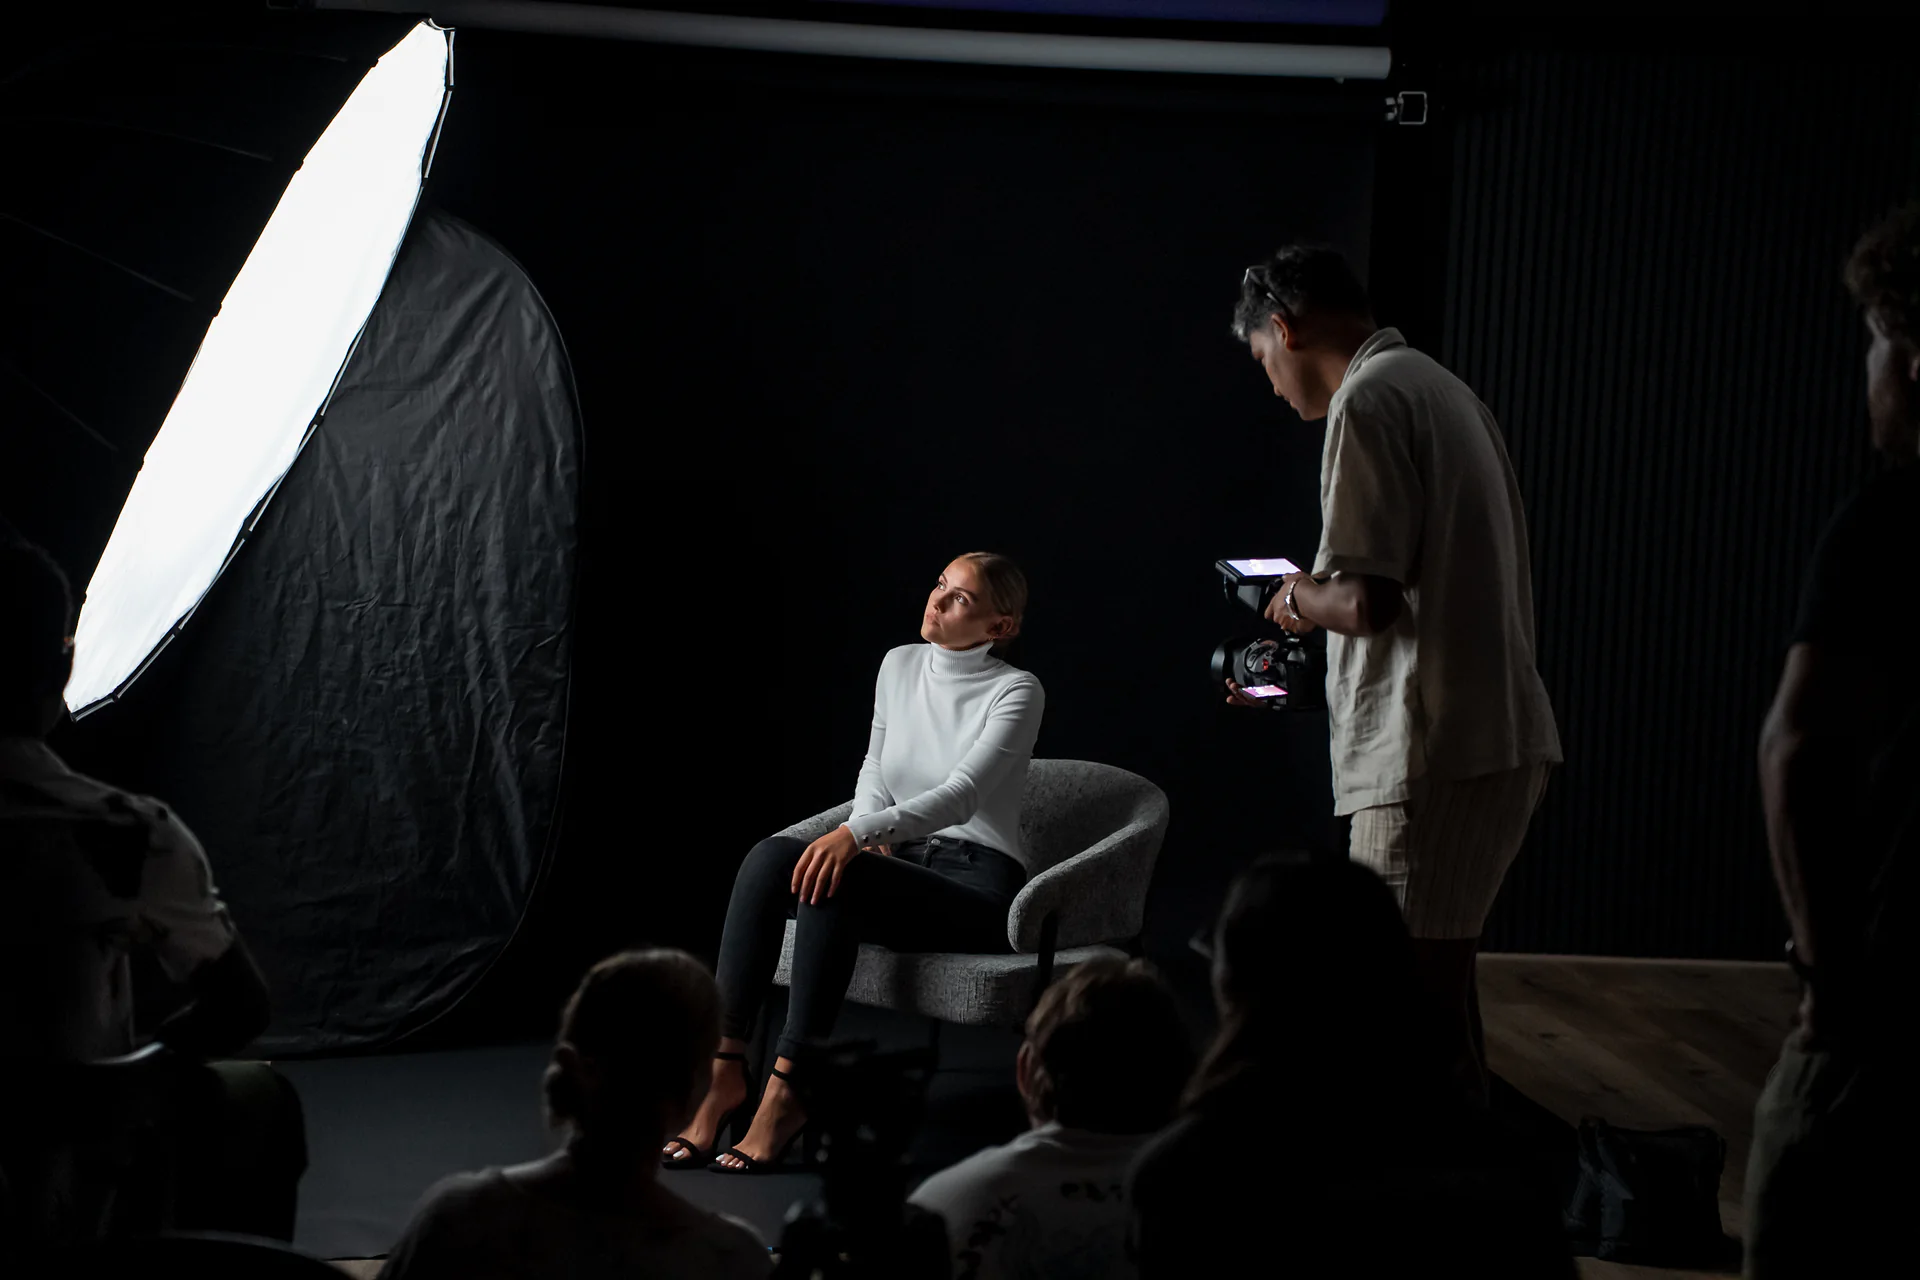
Good studio lighting is less about using every fixture available and more about deciding what the viewer should notice first. Start with the subject, build one light at a time and judge every change by what it adds to the frame. This simple approach makes lighting easier to repeat, easier to troubleshoot and easier to adapt for photography or motion.
Begin with the result, not the equipment
Before switching on a light, define the feeling and purpose of the image. A clean product photograph, a dramatic portrait and a relaxed interview need different contrast, direction and background treatment. Look at the subject’s face, clothing, surface texture and movement. Then decide whether the light should feel soft and open, hard and graphic, or somewhere between the two.
The clearest starting point is one key light. Move it closer or further away, change its height and adjust its angle until the shape on the subject feels right. Only add another source when you can explain the problem it is solving.
Understand direction and softness
Light direction creates shape. A source close to the camera produces a flatter result; moving it to the side reveals more texture and facial structure. Raising it can create a natural downward shadow, while a low source may feel less familiar or more stylised.
Softness depends largely on the apparent size of the source in relation to the subject. A larger, closer source usually produces gentler transitions between light and shadow. A smaller or more distant source tends to create harder edges. Neither is automatically better — the choice should serve the shot.
Control contrast before adding fill
If the shadow side is too dark, a fill light is only one option. A reflector can return some of the key light, while a white surface may lift the shadows subtly. If the image feels too flat, negative fill — a dark surface placed near the subject — can reduce stray light and restore shape.
Make these changes in small steps. The goal is not always to eliminate shadows; it is to control them.
Treat the background as a separate decision
A background can be bright, dark, even or deliberately graduated. Subject-to-background distance affects both the look and how much spill reaches the set behind them. Where possible, establish the subject lighting first and then decide whether the background needs its own source, flag or adjustment.
Keep an eye on separation. Similar tones in wardrobe, hair and background can merge unless the lighting or composition creates a clear edge.
Take it to set
Practical checklist
- 01Define the mood and purpose of the shot.
- 02Build the setup with one key light first.
- 03Adjust distance, height and angle before adding another source.
- 04Use reflection or negative fill to shape contrast.
- 05Check the subject and background separately.
- 06Confirm exposure, white balance and skin tone on the intended camera.
- 07Take a reference frame before changing the setup.